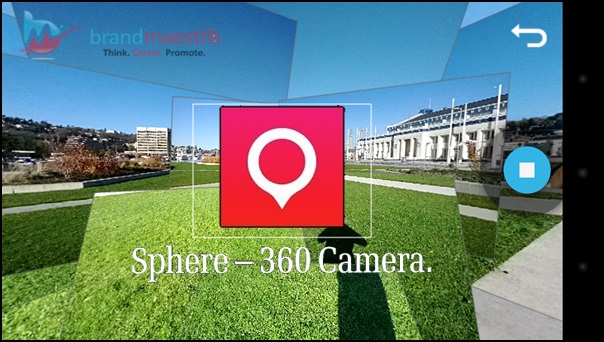
Google 360-Degree Photo Sphere App is a Delight for the Users
After debuting on Android more than a year ago, Photo Sphere has turned out to be the popular choice of many users when it comes to taking 360° pictures. It has certainly been an exciting invention from the mobile app developers of Google helping you to capture those amazing moments without getting the feeling that you are missing out on something. Google recently came up with the Photo Sphere app version for iOS allowing the users to capture amazing pictures from their iOS devices. Capturing immersive 360° images with this app is extremely easy as you just have to stand at one place and then, capture the scenery around you by simply capturing the blue dots appearing on your device screen. If you are finding it hard to visualize then, picture it as you are standing inside the globe and looking out rotating and tilting your camera to capture everything around you.
Get a Quick Guide to this Amazing App Right Below: –

How to Capture Images with Google Photo Sphere 360° App
Though using this app is not at all a big challenge but, here’s a brief breakdown of the entire process of capturing stunning images with it.
• You need to install this free app on your smartphone.
• In order to take the image, you need to position yourself at the center of the sphere you want to capture. On the lower-right corner, you’ll be able to see the orange camera icon and the app will guide you to move the white circle till the “dot” is captured. After doing that, you can move the camera towards your left or right to capture the next dot and line them up till the shutter fires.
• You need to continue this process till you have turned 360°. The best part about this app is that apart from capturing images to your left or right, you can also capture scenery at the bottom and the top. After you have completed taking the images, you just need to tap on the ‘Finish’ icon and get your desired image.
You can also share your captured image on Google Maps. For that, you have to sign in to your Google account and tap ‘Publish’ while viewing the image to share it on Google Maps. The orange tap share icon can be used to share the image across different social media platforms like Facebook, Google+, Twitter, etc.
The mobile app developers behind the invention of this innovative app are leaving no stones unturned to enhance its usability among the users. The “Google Maps View” ensures that you can easily submit and view your images on Google Maps. The latest update makes it possible for you to view and submit them from your device as well as the web. You are simply required to tap on the blue camera icon right at the top right corner of the screen. It will also allow you to browse through Google+ auto upload folder for posting Photo Spheres or images taken by you.
A Street View of Your Own with Google 360-Degree Photo Sphere
The ‘Street View’ is another interesting feature that was added by the mobile app developers of Google to allow users stitch their photo spheres and build an interactive map of their own. The availability of panning gestures, drag handles, etc. definitely makes it a great tool for you to create a street view where you want to focus on certain landmarks or places.
A live video version has also been created by the mobile app developers introducing the photo-editing features of this app which is known as Auto Awesome Movie. With the help of this feature, you can create quick films by combining different movie clips.
Google Photo Sphere 360° – Simply a Great Tool
There is no doubt about the fact that Google Photo Sphere 360° is a surprisingly handy tool allowing you to take one big image and share it, rather than taking multiple images. When it comes to the quality of the images, mobile app developers who have worked on this app ensured that quality is compromised. Unlike, traditional panoramic images that look all skewed and stretched, images captured through Photo Sphere look perfectly normal without any desirable features.


Leave a Reply